Pages

Showing posts with label Gifts. Show all posts

Saturday, December 22, 2012

How To Make Fire Work Leg Warmers


Hola! Again I have an addition to my leg warmer craze. I saw a picture with a pattern online of some like these, but I was out of town when I made them so I didn't have access to the pattern. Because of this, I decided to use the picture I had in my head to just do it, and I did it! Here's what I did:


I used:
1 skein of worsted weight yarn
1 skein (more like half of one) of eyelash yarn
4 Size US 8 dpn's 

Starting at from the ankle up CO 36 sts and distribute evenly onto 3 dpn's and join to work in the rnd
Rnd 1: Work in K1 P1 ribbing for a total of 2"
Next Rnd: Work in stockinette st for a total of 4"
Next Rnd: Change to using the eyelash yarn for two rnds
Next Rnd: Change back to main yarn for a total of 7 rnds
Repaeat the last to rows 2 more times
Next Rnd: Change to using the eyelash yarn for two rows
Next Rnd: Change back to main yarn and work in stockinette st for 4"
Next Rnd: Work in K1 P1 ribbing for 2"
BO loosely or use larger needles


Aren't they darling? They are super warm for these nice snowy days we've been having! Isn't the snow beautiful?!?! It's like a winter wonderland out there! I hope you have a nice holiday season!


Tuesday, December 11, 2012

How To Make GLITTER Shoes


Has anybody else seen all the sparkly everything lately? Sparkly earrings, sweaters, tank tops, jeans, and SHOES! I wanted my own sparkly shoes! So, I decided from an old pair of dirty ballet flats I would make my own and I love them! Heres how:


You'll need some shoes made of any material but patent leather


You'll also need about 2 oz of glitter, Mod Podge (this stuff rocks!), and a paint or sponge brush. 


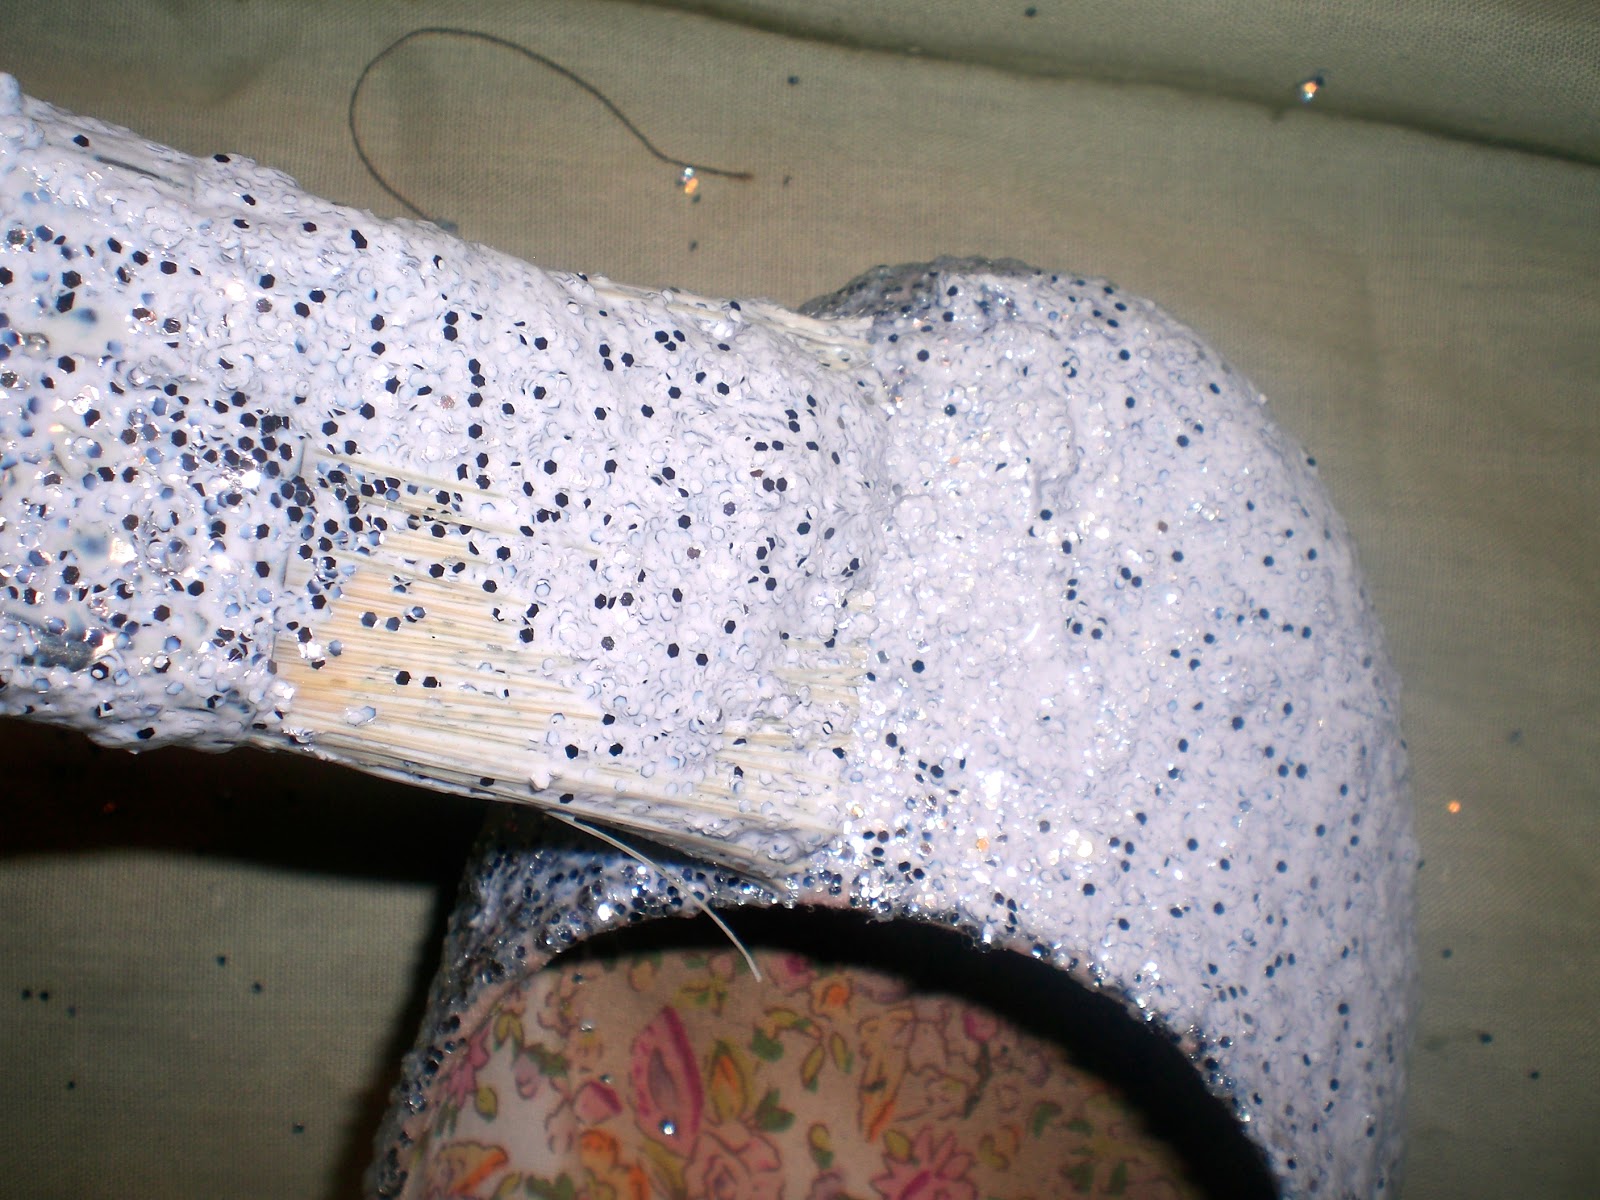
Begin by mixing together the glitter and Mod Podge. I think I did about equal parts of each. Then, brush the first coat on each shoe. 


I know it doesn't look like much yet. Just trust me.


After applying the first coat brush on the second


Go ahead and let them dry for about 20 minutes or so...


...and brush on the third


Let that dry for a couple of hours, and apply a coat of only Mod Podge to seal in your hard work


and repeat on the other shoe. (By now you can definitely tell that this is not a mess free project by my pictures...) Let your shoes dry completely. I let mine dry over night, and you are DONE! I hope you enjoy these as much as I do!


Monday, December 10, 2012

How To Make A Beaded Necklace


I am so SUPER excited about this necklace! I have been wanting one like this for forever, but could never find one I like so... I 100% made my own!


I didn't have any of that fancy wire or crimp beads to do it the right way, so I had an ah ha moment, and used this silver all-purpose thread I had on-hand. So that the finished product wouldn't break, I cut three of the same size pieces of thread and glued them together with a little Mod Podge so they would go through the beads easily. To determine the length of the thread decide how long you want your         necklace, and add 5-8 ins.


String your thread through one side of a clasp and tie with a sturdy knot leaving about a 2-4 tail


String your first bead through the long tail and the left over short tail from the knot


Repeat with the second bead...


...and the third


Continue that last step until there is no more short tail, and keep stringing your beads on the long tail until your necklace is half the size you want it to be finished.


Take your awesome optional charm...


... and string it through the thread. Continue stringing the other half of beads and tie off with the other side of your clasp making sure to leave a little bit of extra string so the necklace rounds and lays nicely. Take the excess tail from the knot, and run it through the last beads.


AND YOU ARE DONE! I hope you enjoy!

Friday, November 23, 2012

A Knitted Birdie


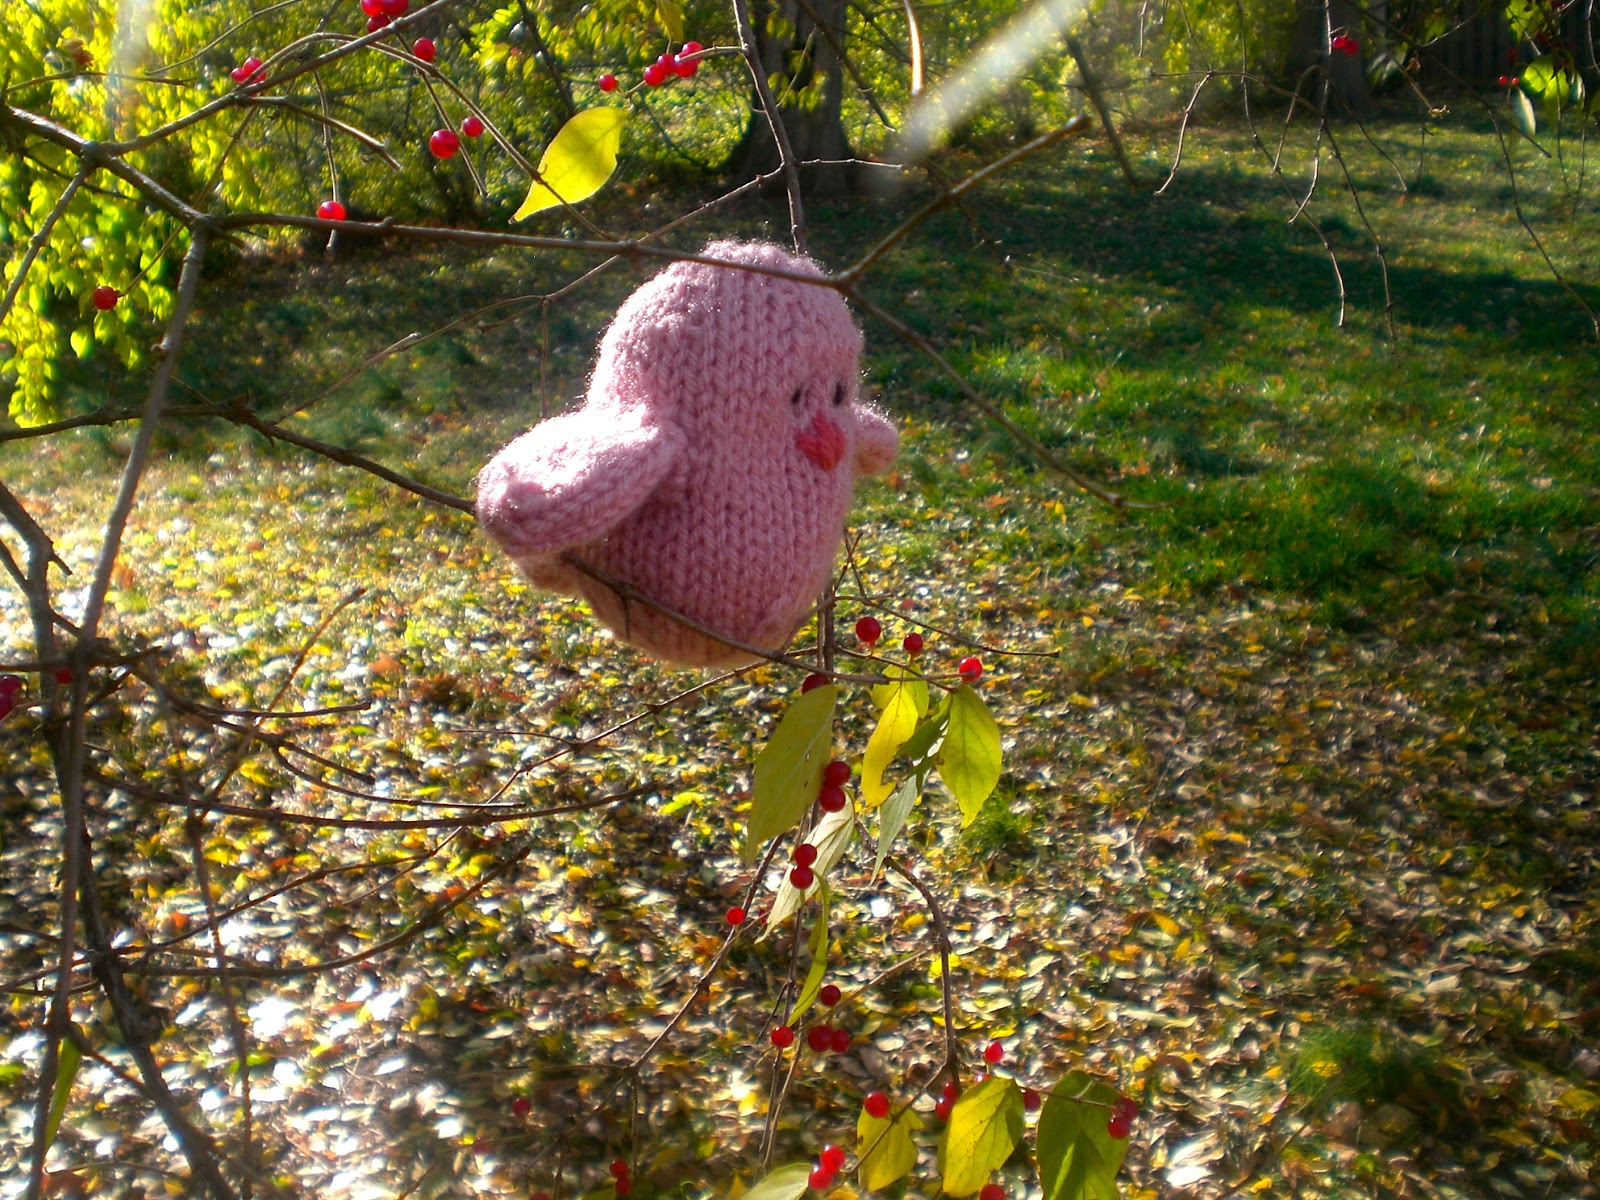
I know I know, I have been knitting a whole lot lately. I promise to put a tutorial up soon, but when I saw this pattern I couldn't resist. Who could say no to that cute wittle face?


I sure couldn't! So out came this little cutie pie stuffed birdie! It seriously didn't take long at all! It is a very entertaining project to see it transform before your eyes. This is a perfect gift for a little one or even a grown up! You can find the pattern here. Have fun (I sure did)!